Climbing hills… it’s no easier in winter
The next few outings in the RVC 2022 Beginner Ride series will start to move into trail systems with rolling terrain. This means hills; and that inevitably means climbing. Climbing hills is no easier in the winter months – in fact, it’s probably more difficult. Although a lot of fun, fat bikes are much heavier (especially in the wheels) and that can make them a little sluggish going uphill. Chances are good that you’ll probably be weighed down by more clothes and winter boots on your feet. Although you won’t have to face big roots or rocks going uphill the trail may have patches of ice or loose snow, and those conditions present their own challenges. Don’t worry though, with a bit of technique, you’ll get up those climbs!
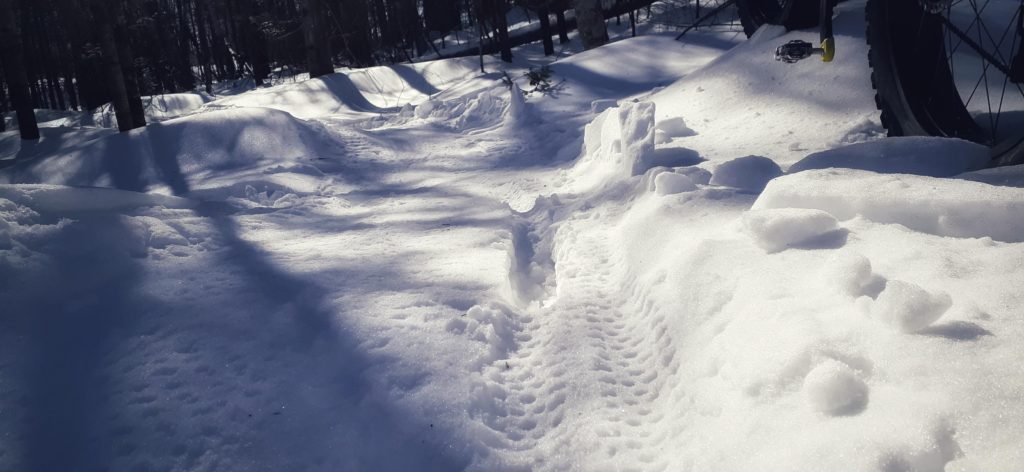
First piece of advice – don’t worry if you can’t make it up. Even the best riders end up having to get off their bikes and push on tough winter climbs. See those footprints off to the side of the trail? They are a telltale sign that you are not the first person who had to dismount here. We’ll come back to this later.
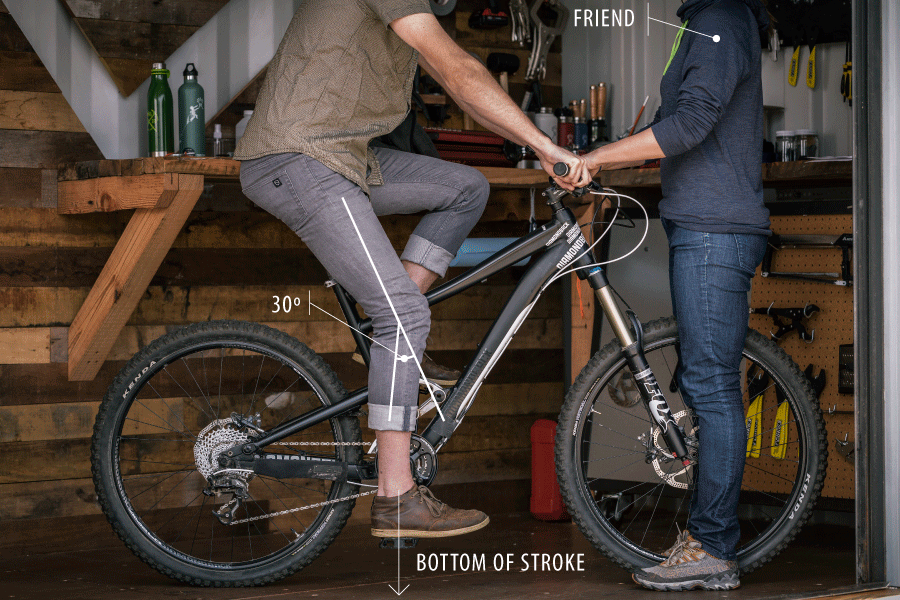
Let’s look at bike setup next. For comfortable and efficient climbing your seatpost should be set so that your leg is well extended at the bottom of your pedal stroke but not locked at the knee. A 30° angle is ideal and for most beginners, their fat bike will not come with a dropper post. With a standard seatpost and with winter trail riding in Fredericton in mind you should definitely set up your seat with climbing in mind rather than being tempted to drop it to a lower position for descending. Your tires should be properly inflated for the conditions (we covered this last week).
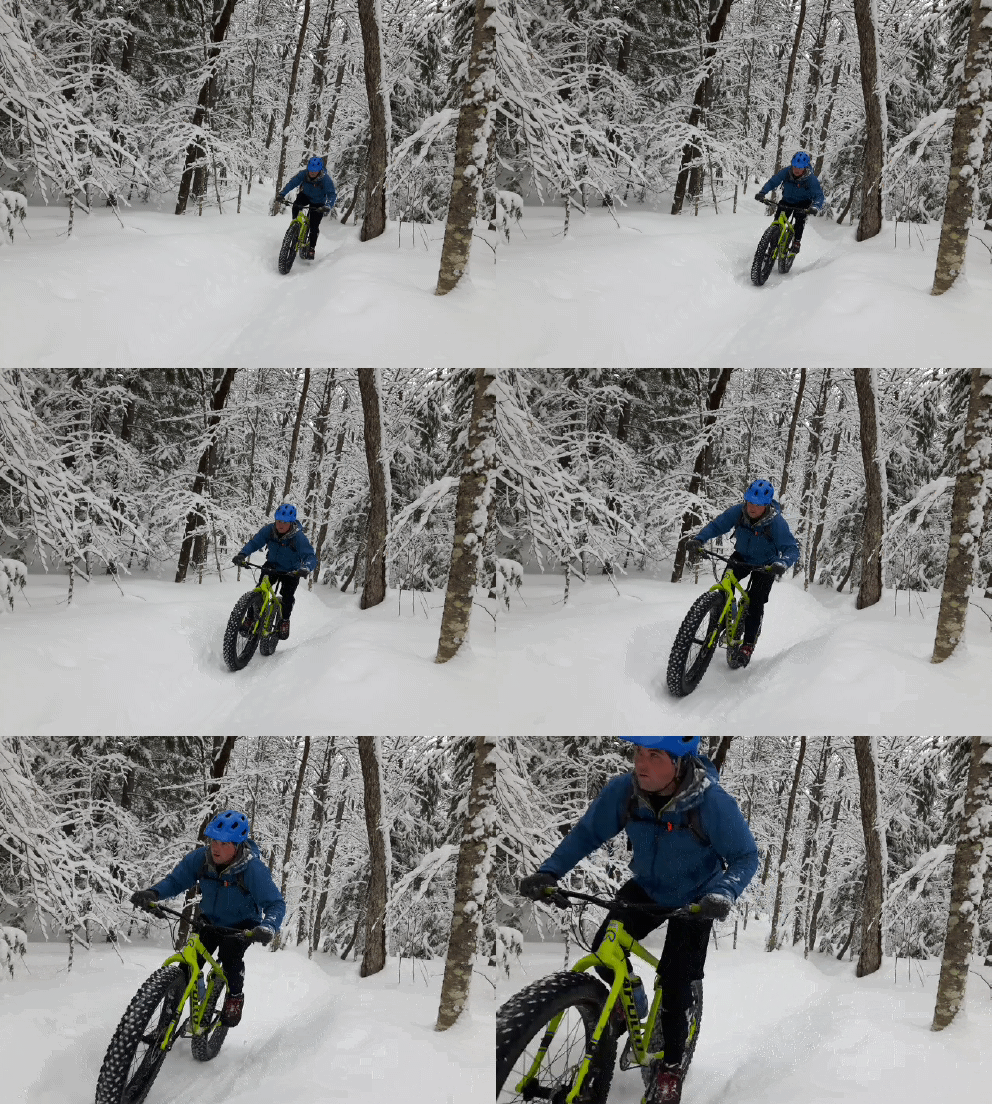
Rider position is very important for climbing hills. Your aim will be to stay centered over your bike, bringing your chest closer to the handlebar, with your elbows in slightly and well bent to absorb any impacts. You want to keep your mass in the center of the bike, preventing your front wheel from wanting to lift off the trail. If it is a long hill you will want to keep your shoulders from hunching forward so that you are able to settle into a regular pattern of breathing. Your body will be wanting oxygen for this. Above all else, remember that we don’t climb hills by standing on our pedals. This is a last resort, often used in desperation to get over a hump you didn’t see coming, and it often doesn’t result in success for beginner riders.
Next let’s think about gearing and cadence. Cadence is the rate which your feet are spinning the cranks. For hills, you want that rate to be nice and steady. Misjudging the hill (or your own strength) and choosing a gear that is too easy will have your feet spinning fast and potentially your back wheel loosing traction. Choosing a gear that is too difficult will mean you are left trying to crank hard and slow, which isn’t efficient. Worse yet, beginner riders who misjudge the hill’s difficulty often try to downshift to an easier gear while their pedals are under load. While derailleurs have been around for a long, long, long time the technology still isn’t perfect. Trying to shift down while cranking hard up a hill isn’t going to work. That’s how chains get lodged in your rear spokes, or worse yet they break. Plan ahead. The goal is to build speed leading into the climb (especially if it is short), but be sure to shift into whatever climbing gear you think will result in a steady cadence just before you start the climb. Remember, you need a pedal stroke or two to complete your shift after you push the trigger on your handlebars.
You won’t always make it up. That’s not a problem. Pushing a fatbike up a short steep section happens to the best of us and it is worth it for the downhill that will come. A few pieces of advice:
- Give others on a group ride a bit of space. If they need to jump off the bike mid-way up a steep hill it doesn’t do anyone any good to be right on their rear tire. They’ll feel bad and you’ll feel frustrated. Space out wider on the hills.
- If soft snow led to your failed climb and you need to push please step off the groomed trail into the deep snow. While this makes your job harder it saves the trail for the riders coming behind you. Once that steep hill climb gets bumpy with boot prints it won’t become any easier. It’s ok to leave your bike on the trail.
- Pushing up a hill is good. It gives you something to work for and it means when you finally get it clean it will feel all the more rewarding.
The Winter Woolastook Loop is a good introduction to climbing with your fat bike. You can shorten the loop as necessary, sticking first to the doubletrack west of the campground, then seeing if you can make it up to Mountain Rd, and finally shooting for that steep climb up to the lookout (this takes real fitness). Good luck!
Fat bike tire pressure – dialing in your ride
Disclaimer – this post is sure to weigh in on what is the most controversial topic since “what’s the best handlebar width“. The views contained below are solely that of the author… and not necessarily the views of RVC. Following this post I may have my website rights revoked. We’ll see. Let’s begin.
Tire pressure can be a perplexing thing for new fat bike riders. Often the bikes come from the shop or rental locations with the tires pumped up as hard as a rock – leading to a harsh ride. If you remember nothing else from this entire article just try riding at 5.5 PSI. However, there’s a lot more to tell.
Fat bikes are all about increasing the surface area of the tire in contact with the trail. This is known as ‘contact patch’. While your rim profile and tire width greatly influence ‘contact patch’ you can’t easily change those things. What you can change is air pressure… and that makes a big difference quickly. Lowering your pressure increases contact patch since your tire can deform to the shape of the trail. Increasing your pressure decreases contact patch and your tire becomes more firm, and less deformed by interaction with the trail. Contact patch area helps create traction on loose and slippery surfaces and it creates flotation in marginal conditions. A tire able to deform around small objects also creates a smoother ride. On the other hand, a big contact patch also increases rolling resistance, and in extreme cases it creates something called ‘self steering’ on hard surfaces (a disconnect between where you point your handlebars and where the bike goes). A tire with tubes that has too little pressure is also at a higher risk of a trailside pinch flat – and that is especially awful with a fat bike.

So with that theory behind us – start by filling up your tire to 5.5 psi and give it a test. Place your palm on the top of the tire and apply ~1/2 of your body weight to it. The tire should deform in your hand and you should see it bulge on the floor. If the tire folds over on itself or you feel the rim coming into contact with the floor you need to add air. If the tire barely deforms with ~1/2 of your body weight you need to let air out. Generally speaking heavier riders are going to need higher pressures to achieve the same contact patch. Use this method to find your starting point. You can also transform this into the ‘pinch test’ to achieve about the same results. Don’t be shy… pinch hard!
It’s much easier to let a little air out of your tires on the trail than it is to put air back in. Although there are high-volume hand pumps available for fatbikes there is still a lot of internal space to fill and pumping up tires takes time with the best pumps.
When might you want to let a little air out on the trail?
- You are riding (particularly climbing a hill) and you feel your back wheel slipping in loose snow.
- Your bike feels like its bouncing off every little divot and bump in the trail.
- The trail is icy and you are losing control.
- You are just barely breaking through a surface like a snow crust or leaving a small rut
(if letting air out doesn’t fix this it’s time to turn around and try coming back another day)
What about times when you might want to run a little more air?
- The trails are firm and in great shape. Look for this if it’s been 4-5 days since grooming with no new snow.
- You feel like you need to pedal in order to keep momentum going downhill.
- You feel your tire buckling/folding when taking corners or hitting a bump. Put air in now before you get a pinch flat!
(doesn’t apply to tubeless fat bikes)
If you do manage to get a flat tire on the trail it isn’t the end of the world if you are prepared, but it will suck. I often hike-a-bike back to my car if it is a short ride. If you are on a long ride you need 2 levers, a spare tube, a high-volume pump, and perseverance. You can substitute CO2 cartridges for the pump but plan on at least 2 high-volume units (not the kind you use to fill a puny little road bike tire). For my 4.6 tires I use tubes marked 2.5-2.7 on the box. They will stretch just fine and it saves a lot of space and weight in your pack.
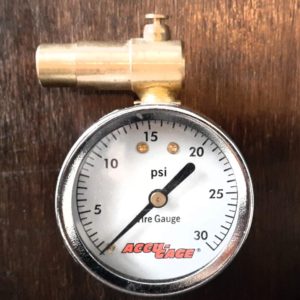
Most of what’s been said above relies on the feel and behavior of the tire. For those of you who’d like to put a little more science in the process you can obtain relatively inexpensive and good quality low-pressure air gauges. These specific gauges will give you a much better readout on pressures between 2-8 PSI. Most of the pressure gauges that come built into bike floor pumps won’t be readable in this range. There are some slick digital options available too. Check around the local bike shops.
A note on weather. As air temperature drops so does tire pressure. This normally isn’t a big deal. However, if you fill your tires inside a +20° house and then immediately go ride in – 20° cold you are going to drop at least 1 full PSI during your ride. If you ride in serious cold it’s best to consider that ahead.
One last tip on pressure – I never crank the dial louder than 12! Let me explain. Sometimes installing tires on the rim can be fussy and a little trick is to use high pressures to get the bead to snap in place. This can be especially true for fat bikes where the rim and tire tolerances between manufacturers can be wide. On a normal mountain bike it’s common to pump things up to 30-35 PSI until you hear the ‘ping’ that lets you know everything is all lined up. Do not do this with a fat bike. With the air volumes involved in a fat tire you should not exceed 11-12 PSI. You will blast the tire off the rim, destroying it in the process, potentially throwing a lot of money down the drain. You will also most likely suffer temporary hearing loss and possibly a small heart attack. Instead of high pressures get the rim mounting job done by spraying soapy water onto the tire bead liberally just before you inflate it.
Hope this helps. Go easy on me internet.
Chris
Winterbike plans 2022 – Woolastook
Riders!
We’re busy planning for the Winterbike season as you know. Your Winterbike membership supports trail grooming at several locations in the Fredericton area. We’re going to be releasing our grooming plans over the month of December starting with Woolastook today.
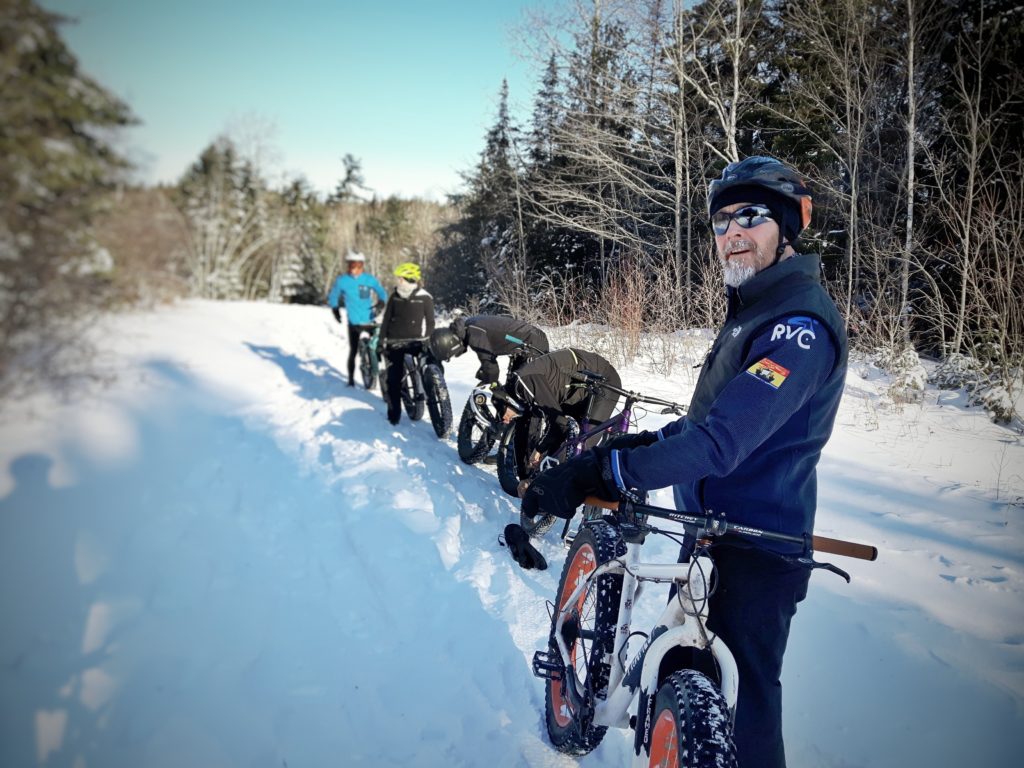
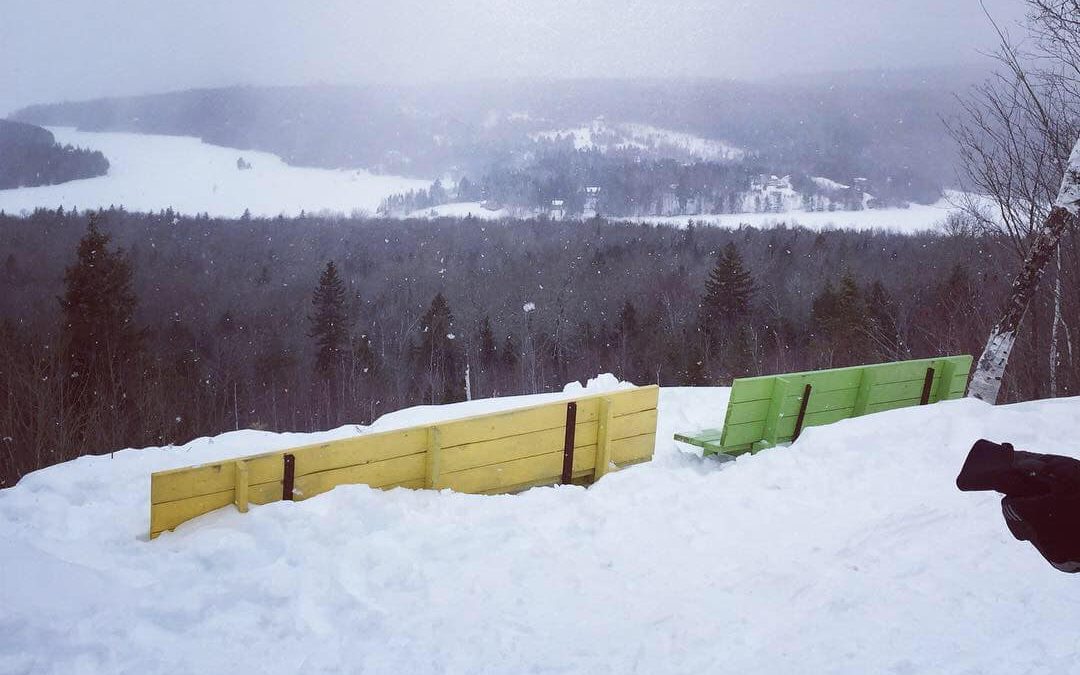
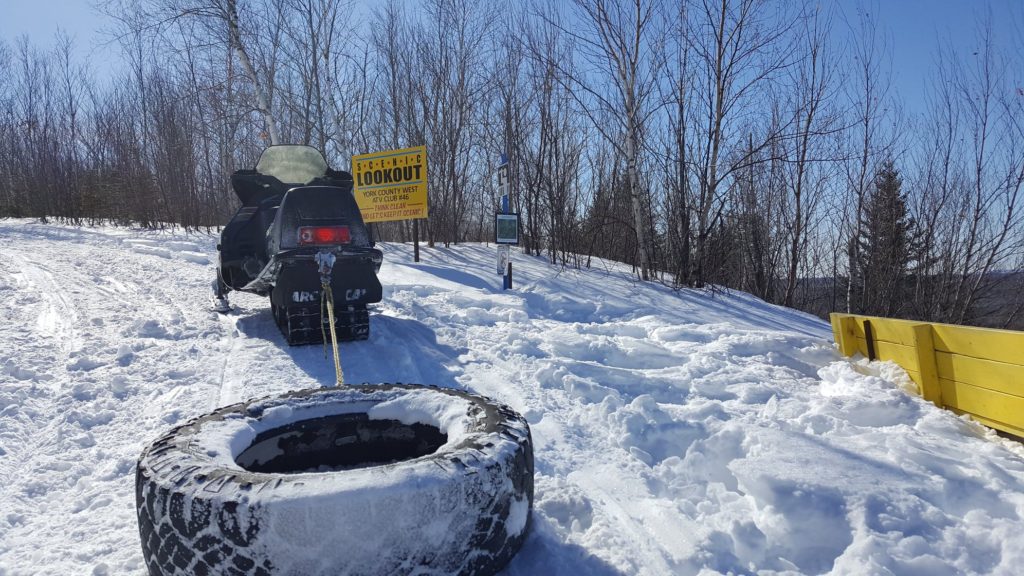
This year RVC groomers will keep a little more than 14 km of trail open at Woolastook. The layout here will let riders plan out routes using stacked loops so lots of distance options will be available if your the type of person who’s fingers are freezing before you put in a full 14 km (get pogies though.. for real). You’ll want to build up to a full distance ride though because the winter lookout is worth it. We won’t tell anyone if we see you pushing your bike up the last bit of that steep hill up to the lookoff – we promise.
This grooming plan is what you can expect RVC will keep open for the duration but from time to time we’ll probably be able to enjoy a few other pieces of singletrack opened up by volunteer snowshoers. If you want to update your Trailforks app the winter mode map is now up to date.
Remember, you can join RVC Winterbike right now for 2022 and you can also support our GoFundMe campaign to upgrade our grooming fleet!
Major addition in Penniac
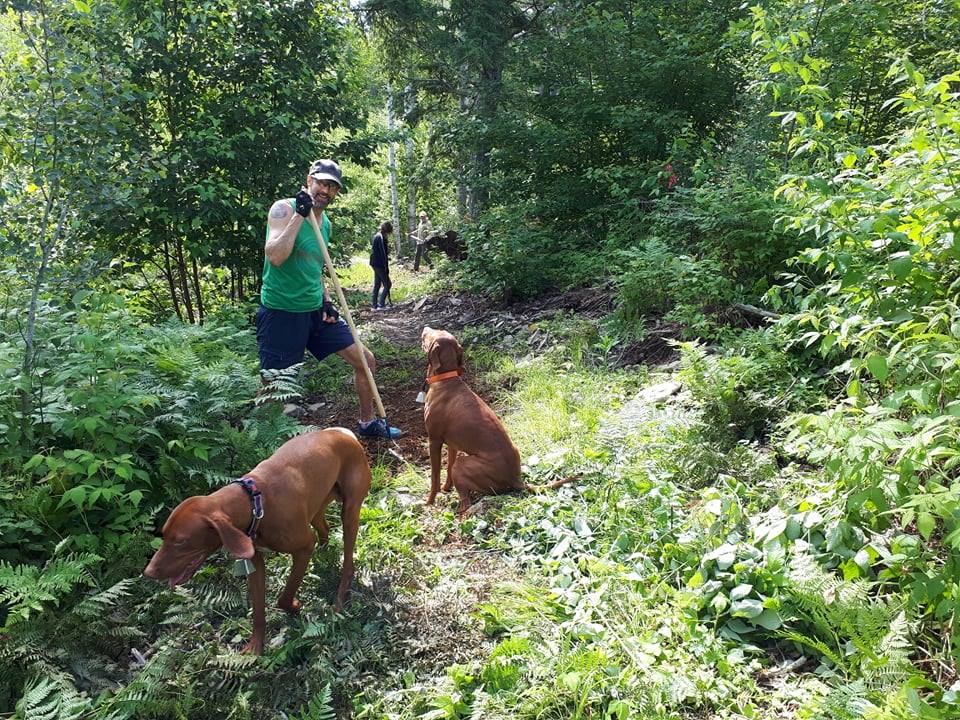
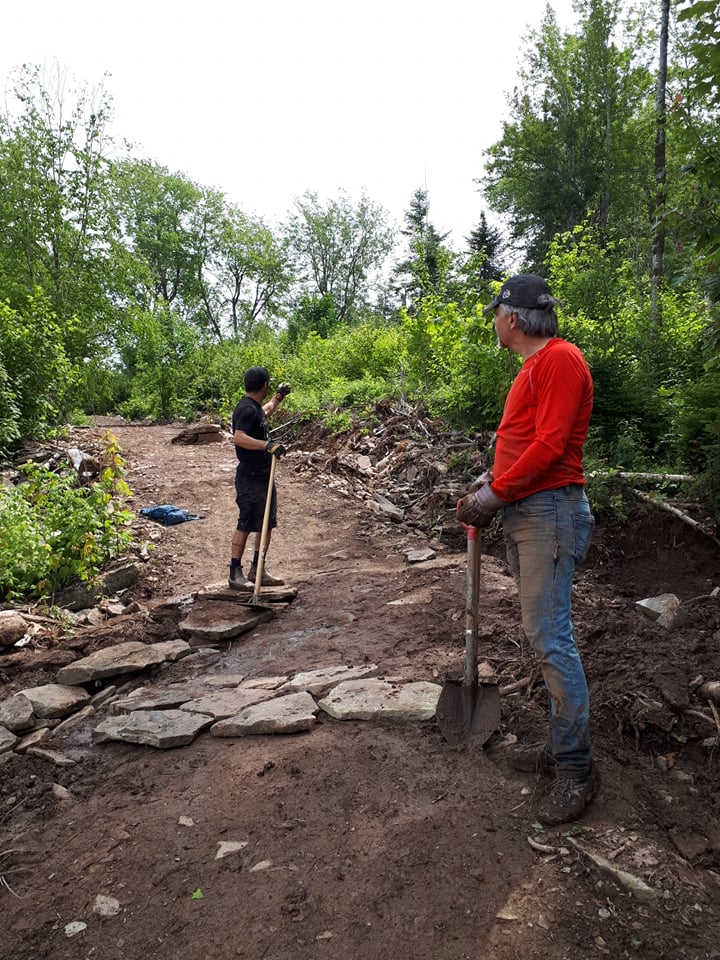
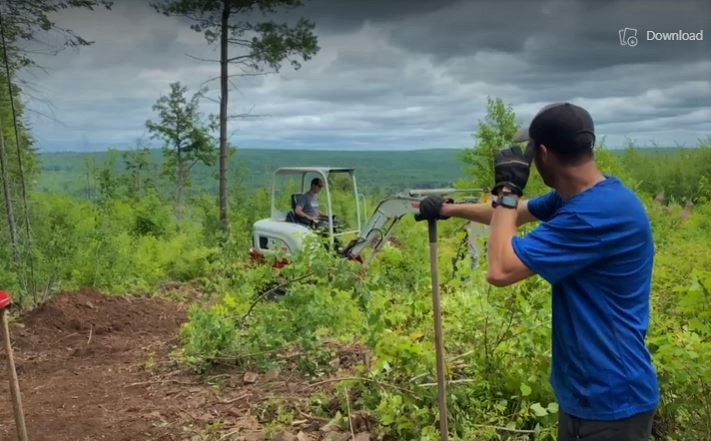
Collaboration is hard work – but it makes things better. When we can connect volunteer trail builders with excited landowners and provide some resources along the way, we get success – and success looks like this:
RVC is psyched to open 3 new trails in Penniac today for our members. Combined these add 2.5 km to the existing network and open up whole new possibilities for stringing together a ride. They are an amazing addition to a network that’s seen a lot of change in the last few years.
Up-timizer is now the most approachable way of getting up and down the Penniac ridge. Climbing gradually through beautiful forest and over several streams, this is going to a very popular way up from the rec center. Just keep your eyes open as this one is open to riding both ways.
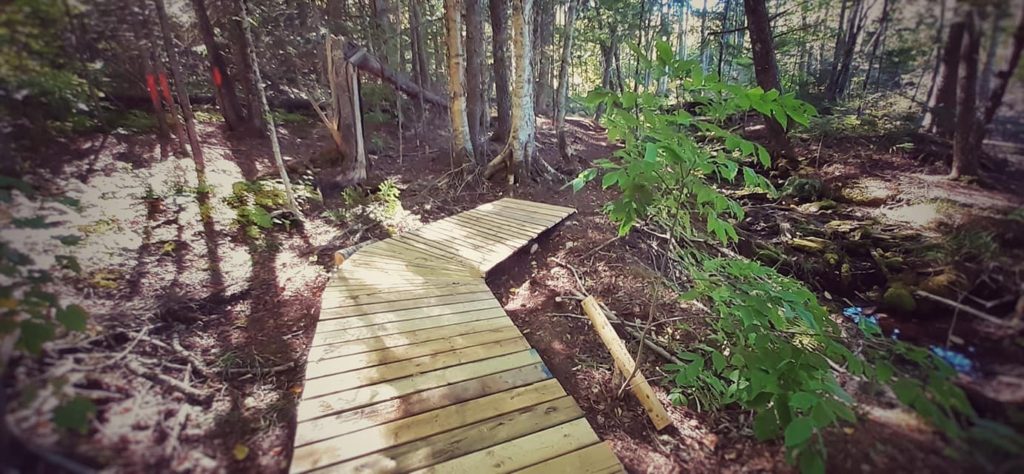
Learning to Fly is a brand new progressive trail that is machine built. Berms, and optional jumps line this downhill-only trail.
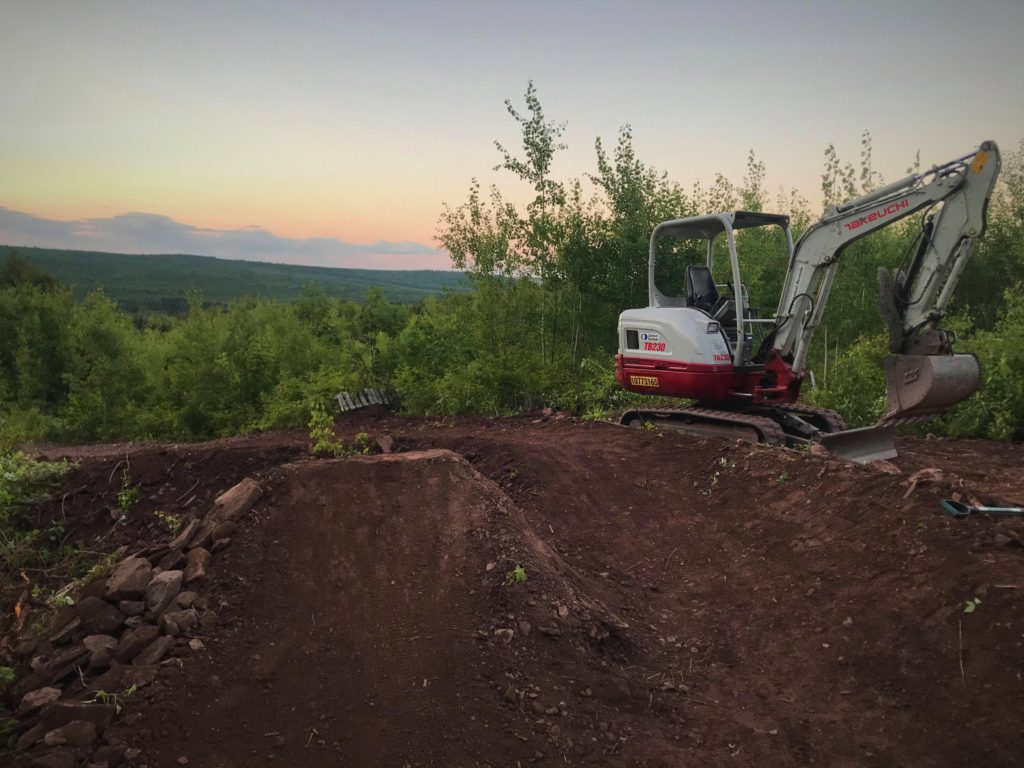
Eat Your Vegetables is the connector at the bottom that links riders coming off of Learning to Fly with their next climb.
Hadley mountain biking trailsAll 3 of these trails were built with permission on a woodlot that is being managed for multiple objectives in the long-term. Native Acadian forest tree species have been planted in the area so remember to stay on the trails, and leave no trace. That means no cutting vegetation, altering trails, and please – no campfires. These are new trails and wet-weather sensitive so please stay off after a big rain. Trail dogs are welcome so long as they are under control and owners are responsible (you know exactly what we mean). Wear your helmet, be safe, and enjoy! The landowners here have been great to RVC and so let’s respect their wishes!
Now – before this post ends and we get back to riding we want to again thank Remsoft, who provided a generous donation last year towards the construction costs. Without that – these trails would not be open. Local businesses making the community better – we love it!

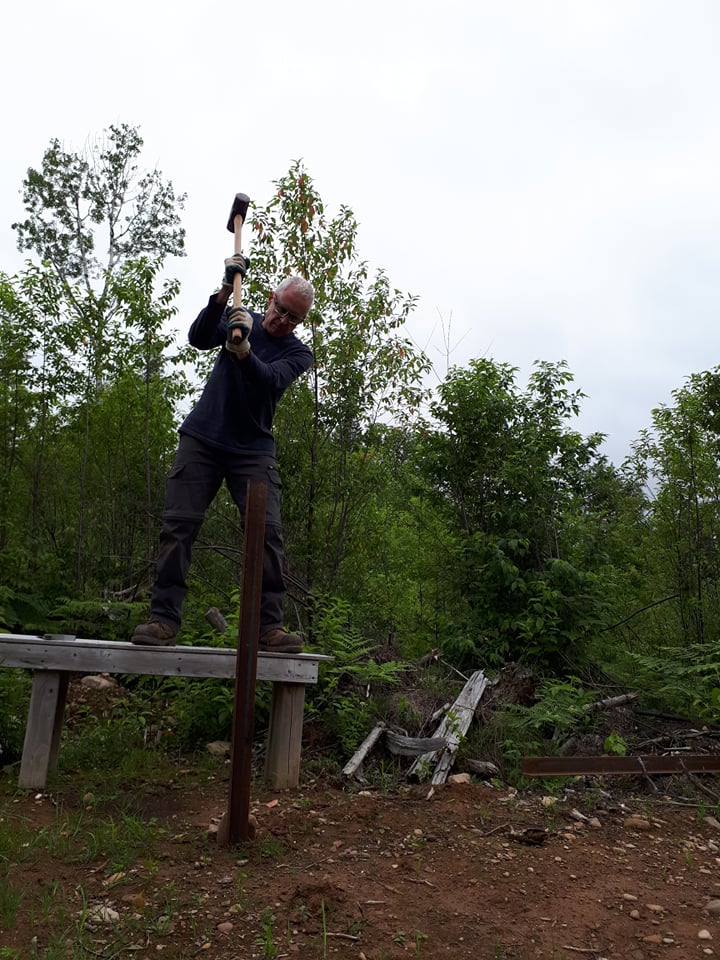
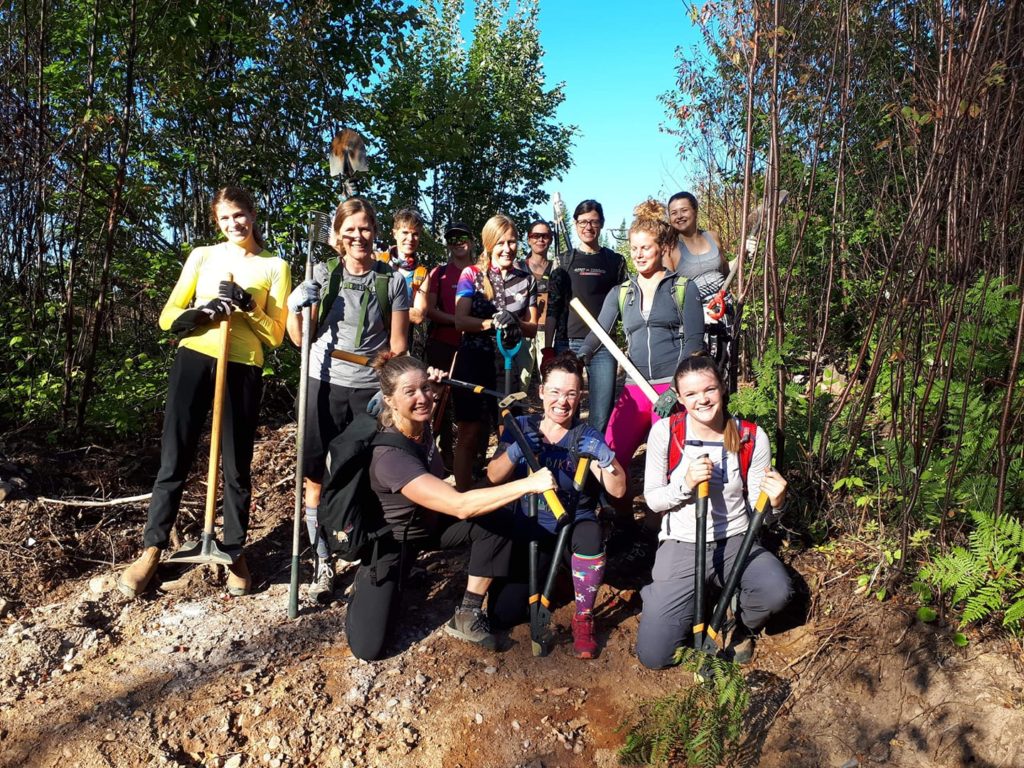
Finally thanks to the volunteer trail builders who came out for trail days, put in long-days in hot machinery, secured permits, or helped in other ways. There are too many to mention on this project but you know who your are… and we know who you are too!
