River Valley Cycling

Supporting Cycling In and Around Fredericton

  • About RVC
  • RVC On Facebook
  • Other Links
  • Contact Us
  • Home
  • News
  • Trails & Maps
    • MVP
    • Woolastook
    • Island View
    • Hadley
    • Odell Park
  • Join RVC
    • 2025 Membership List
  • Day Pass
  • Calendar
  • Volunteer
  • FAQs

RVC’s 2022 Priorities

April 10, 2022 By Chris Norfolk

Stop – if you read nothing else: RVC Membership registration for 2022 is now open! Join RVC!
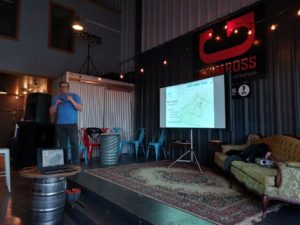
We had a great annual general meeting this week. It felt good to have some face-to-face engagement about riding and trails and Grimross Brewing Co. taproom is always welcoming!

We know that not everyone felt ready to pile into a bar and get shoulder-to-shoulder. For those of you who couldn’t be there we put together a summary of what to expect from the club this year.

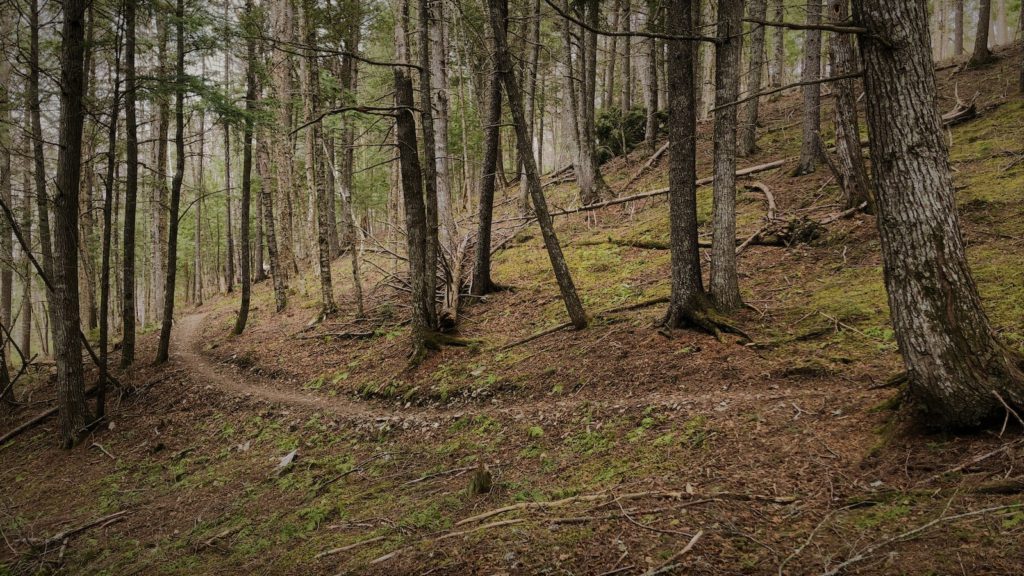
Priority #1: Singletrack Trails. Obviously.

  • Woolastook – so that money we came into from the Canada Community-Building Fund… we’re making big plans with it. We’ve hired McElhanney trail consultants’ master trail builder (and local legend) Matt Hadley to produce a master plan for the park that will guide our project. We’re envisioning 15km of stacked loop trails that improve rideability, wayfinding, flow, and reduce motorized vehicle conflict in the front country. In the backcountry we envision a climber and flow descent from the lookout with a few advanced side options. There will be trail for all riding levels in this plan. We aim to start building this year.
  • MVP – this year the parking lot will see some water management work so that Winterbike 2023 hopefully has to contend with less of a glacier. We also plan to give some love to Slash n’ Berm in the Flight Deck area.
  • Odell – over the past 12 months RVC has collaborated with the City of Fredericton in mapping out how the Odell Park Master Plan will be implemented. We have some projects lined up for this year and we’re working out the details with city staff on how they can happen. We aim to have mountain biking completely authorized with RVC viewed as a partner in sustainable trail management.
Priority #2 – Skills Development

  • Beginner rides – we’ll host a spring “Getting Ready” ride series that leaves nobody behind. Join us to build some lung capacity for the climbs and learn how to handle a mountain bike. If you’ve just found this sport and want to make some connections this ride is for you! We’ll post helpful tips on our blog and social accounts over the spring.
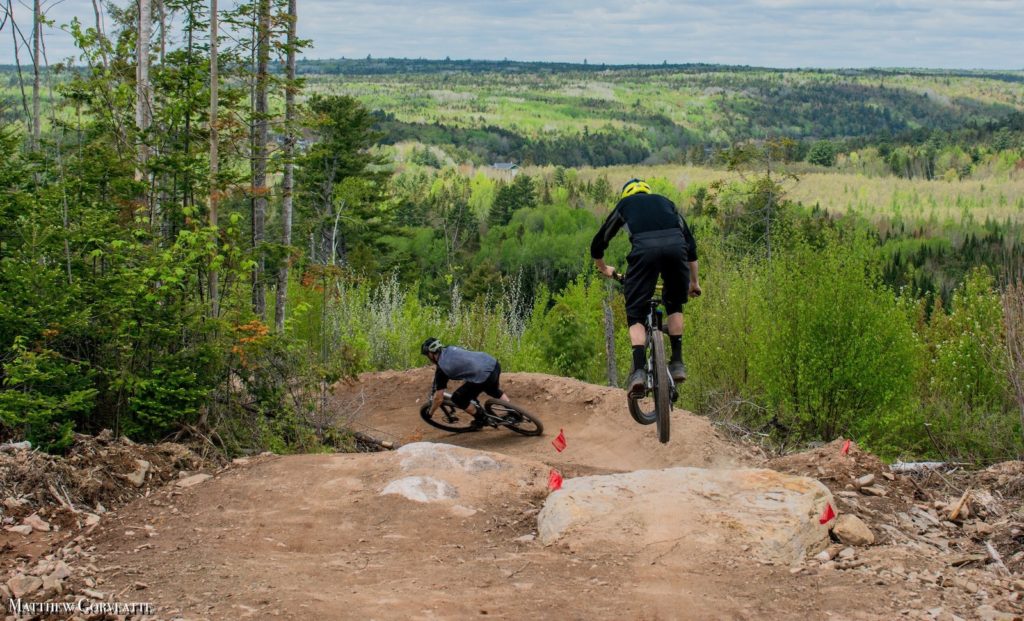
  • Technical Ride ‘n Learn – as the trails dry out and our progressive descent trails open up we’ll host a ride n’ learn series for solid intermediate riders who want to get comfortable with the type of Technical Trail Features that are throughout trails like Monkey Business.
Events

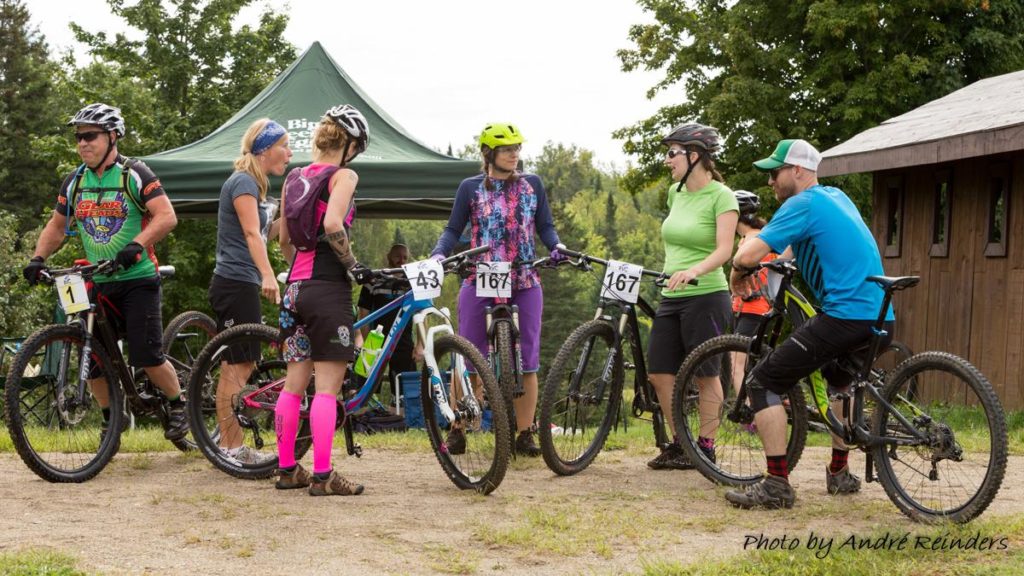
  • New Penniac Race – we’re supporting a few riders who have an interesting idea about a friendly race format that will combine running and riding on July 10th. Mark your calendar.
  • Woolastook 4 – we’ll be back on Aug. 28th with our annual Woolatook 4 hour endurance race. Expect some new twists in the course this year.
Elections

The annual election occurred and our slate of executives were acclaimed for the 2022 year. RVC welcomes Heather Ongo to the team!

  • President – Chris Norfolk
  • Vice-President – Mike Hutchinson
  • Treasurer – Ian Groen
  • Secretary – Norm Siebrasse
  • Trails Director – Bev Bunker
  • Sponsorships Director – Melissa Bordage
  • Director of Risk Management – Chris Furlotte
  • Director at Large – Adam Hadley
  • Skills Development Director – Heather Ongo

Now – if you like what we have in mind for the year we need your support!

Filed Under: Announcements, News Tagged With: AGM

2022 RVC Annual General Meeting

April 3, 2022 By Chris Norfolk

Riders, our AGM is coming up. This is your chance to learn about what is going on for 2022 and to provide your input. We want to hear from you. Find out more about our events and trial plans. The meeting starts at 7:00 at the Grimross taproom and will run 60-90 minutes. It’s a great chance to share a drink with your fellow riders. The election of the 2022 club executive will happen at this meeting.

Filed Under: Announcements, News Tagged With: AGM

Woolastook to Get Exciting Investment

March 11, 2022 By Chris Norfolk

Riders. We have good news.

After working for more than a year behind the scenes we are thrilled to share today that RVC is going to receive more than $303,000 from the Canada Community Building Fund to build/upgrade 15 km of singletrack at Woolastook Park. This may be the largest single investment in mountain bike trails ever given to a volunteer-based community organization in the Province’s history. Exciting.

This funding will dramatically improve the experience and the riding at what is already one of our best local destinations. This will be the most ambitious project that RVC has ever taken on but we are feeling confident. The terrain at Woolastook is fantastic, the security of the land is strong, and we are making a plan.

We want to hear from you. What would you like to see done? Where are the opportunities? Get involved! This project will be front and center at our Annual General Meeting for members on April 5th at 7:00 at the Grimross Taproom. The club will present our ideas and it will be a great chance for a discussion.

Filed Under: Announcements, News

Dress for success! (no frozen body parts)

March 4, 2022 By Norman Siebrasse

As the 3rd installment of our beginner-focused series of winter riding tips, we offer a few tips on how to stay warm and comfortable when the temperature gets very low.

The place to start is your body core. That is where your heat is generated. You’ve probably heard that layering is way to go, but what does layering mean in practice? The key is moisture management. Water has a higher heat capacity than air, and will suck heat out of your body. That’s why a damp overcast day at 2 degrees can feel colder than a dry sunny day at minus 10. So to stay comfortable, you need to keep water (your sweat) away from your skin.

Start with a good base layer. The base wicks water away from your skin and keep you from getting clammy. Go for something tight fitting to touch your skin everywhere for best wicking effect. The material is important. Cotton is an absolute no-no because it will absorb moisture and saturate and suck warmth from your body. Never wear cotton, for any layer. Wool works well and so do good synthetic base layers, which wick better than wool for high output activities. Synthetics are durable – my favourite Craft base layers are 15 years old and still going strong. Some people prefer the feel of wool, and also it tends to smell better – or more accurately – not smell as bad. Modern synthetics are far, far less smelly than the original polypropylene base layers of decades past.

Next you need an outer layer – usually a shell. Its job is to cut the wind, while still allowing moisture transport to the outside air. It doesn’t have to be form fitting, but you don’t want big air gaps either. You also want it big enough to allow a mid-layer if necessary. Cut is important here. A good cut allows free movement during activity. When descending, your arms be extended so make sure your shell is long enough to cover your back when you are leaning your rear end behind your saddle. A shell may also have some stretch fabric to allow a good fit and free movement at the same time. This is more important for activities like cross-country skiing, where you are moving your arms a lot all the time, but it is something to keep in mind if you want to use the shell for both. Some shells are lined with a thin fleece for extra warmth. Which shell is right for you is going to be a matter of personal preference and may depend on the conditions. Armpit zips can be very nice on many rides as they can start off closed and then be opened to vent heat and moisture once your body warms up and you start sweating.

In the coldest conditions you may want to add a mid-layer, especially if you are not riding hard. The mid layer adds warmth by trapping air, while allowing moisture transport. The mid layer does not have to be thick to add significant warmth, and a thinner layer is less restrictive. Three layers are usually the most that are needed for high output activities like fat biking. It is possible to use a very warm layer, like a puffy jacket, as either a mid-layer or outer layer, but these are very warm and do not transport moisture well. Puffy jackets that can pack down small can be a nice thing in your pack for either an after-ride chat or when you need to stop to fix a flat.

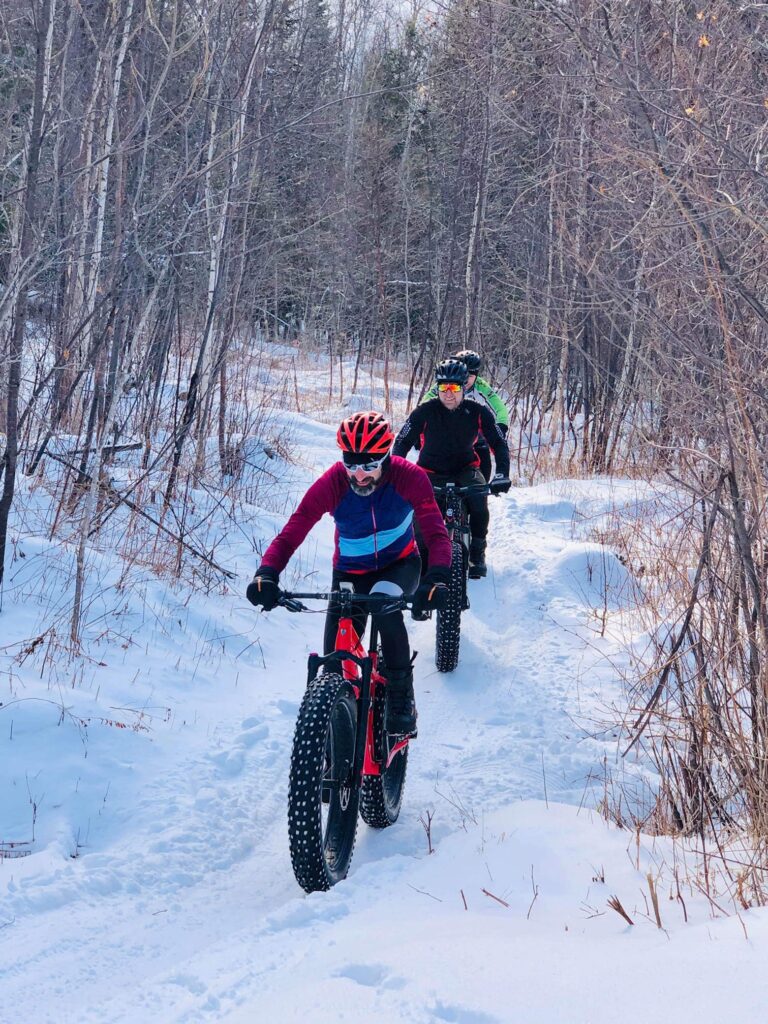
There’s some smart layering going on here..

Avoid overdressing – there’s a temptation to dress warmly with extra layers to be safe – but don’t do it. When you stop to take off your extra layer, you will freeze in that moment when your wet base layer is exposed to the cold air and wind. It can be hard to recover from that chill! Instead, it is better to underdress and take an extra layer with you. If you are too cold, you won’t be sweaty, and when you stop to add that extra layer, you won’t get the chill of cold air on wet clothes. You will warm up much faster after adding an extra layer against dry skin. Before you leave the house, try to get the right the right combination of layers for transporting moisture during your ride.

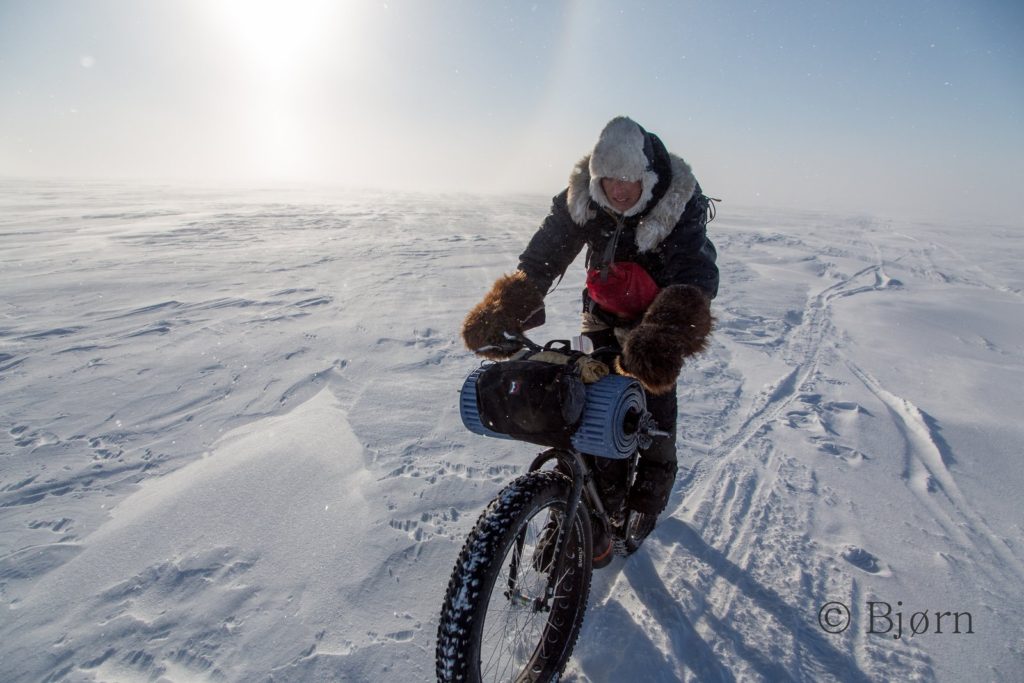
Bjørn here is riding 1,000+ miles to the arctic. You are going to MVP for an hour. It’s probably safe to leave the fur at home.

For your head, a wind-proof hat that is thin enough to fit under your helmet is the place to start. You can add a Buff or balaclava to keep your neck warm. Depending on the size of your helmet, you can layer them both in colder weather or for lower effort rides. Eyeballs get cold, so wearing glasses to keep the wind out is an option. On very cold days, consider ski goggles, These are a bit awkward—they can bump against your helmet—but they are very effective at keeping your face warm. Unfortunately eyewear fogs up when you stop moving – so keep moving!

For your legs, you need free movement to spin without catching on your chain and saddle. Most people don’t sweat as much through their legs, so don’t worry as much about being overdressed. Fleece lined tights are a popular choice. Wear a pair of bike shorts on top; the shorts add significant warmth by blocking the wind and most tights don’t have enough pockets.


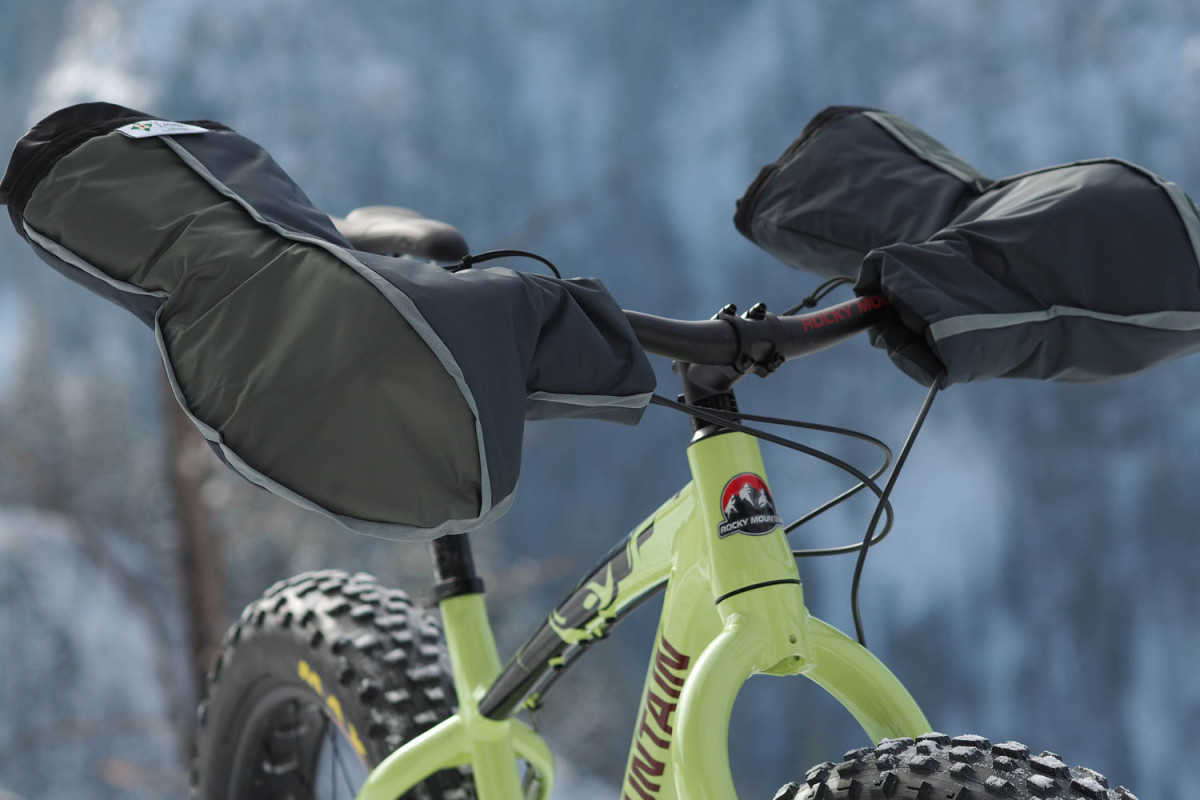
Lots of people suffer from cold hands. Mitts are warmer than gloves but get in the way when trying to shift and brake. Lobster gloves are a good cycling compromise. Keeping your fingers together keeps them warm, and you can use two fingers on the controls while still gripping the bars effectively with your other fingers. Pogies are an excellent investment for hand warmth. These are windproof covers that are attached to your bars and surround your grips, brake and shift levers. They have an opening at the back to slide your gloved hands into. They were originally designed for cold water kayaking, and have been adapted for riding. These provide excellent warmth and wind protection. Pogies plus gloves provide good warmth for most people even in very cold conditions, and if it gets warmer, you can leave the pogies on and switch to lighter gloves. If you are serious about cold winter riding, pogies are a must!

Dogwood Designs Poagies, best cycling pogies
Clicky here for bikepacking.com’s thoughts on pogies!

Your feet don’t work as much riding as they might walking or running, so they aren’t generating much heat. In the winter, flat pedals allow a much wider range of warm footwear. Find the warmest boots that you can pedal in and add a good pair of thick socks. It is possible to buy very warm boots that are adapted for clipless pedal cleats, but they tend to be very expensive. If you still have cold feet, consider hot shots (chemical heat packs).

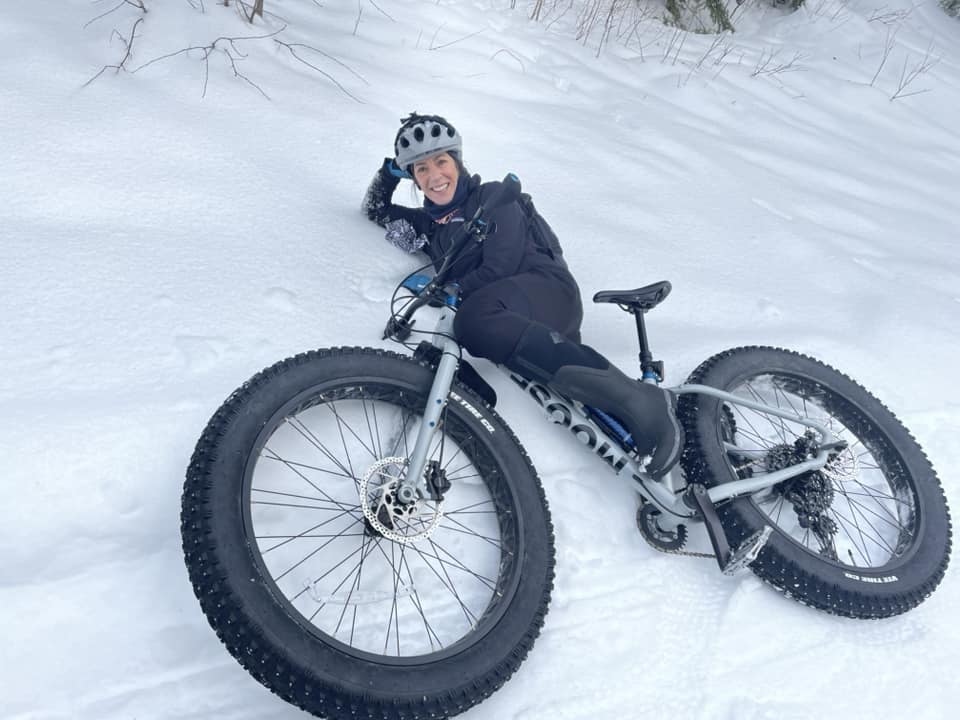
We couldn’t help but notice your sweet winter boots – looks warm!

You don’t need to spend a fortune on winter riding clothes. Chances are if you’ve been living in the Maritimes you already have most things you need. It’s just a question of smart assembly!

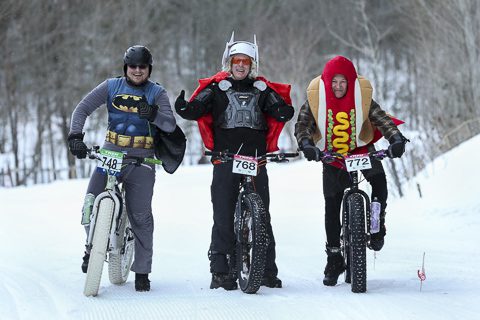
Everyone knows that dressing like a taco will keep you warmer than a hotdog.

Filed Under: News, Winter Bike

Climbing hills… it’s no easier in winter

February 24, 2022 By Chris Norfolk

The next few outings in the RVC 2022 Beginner Ride series will start to move into trail systems with rolling terrain. This means hills; and that inevitably means climbing. Climbing hills is no easier in the winter months – in fact, it’s probably more difficult. Although a lot of fun, fat bikes are much heavier (especially in the wheels) and that can make them a little sluggish going uphill. Chances are good that you’ll probably be weighed down by more clothes and winter boots on your feet. Although you won’t have to face big roots or rocks going uphill the trail may have patches of ice or loose snow, and those conditions present their own challenges. Don’t worry though, with a bit of technique, you’ll get up those climbs!

Climbing is awesome…even Red Bull admits it. This is your goal… Mt. Washington is only a 6.5 hour drive from Fredericton and it’s the closest ‘HC’ rated climb on Strava. Let’s explore how to transform you into an efficient climber!

First piece of advice – don’t worry if you can’t make it up. Even the best riders end up having to get off their bikes and push on tough winter climbs. See those footprints off to the side of the trail? They are a telltale sign that you are not the first person who had to dismount here. We’ll come back to this later.

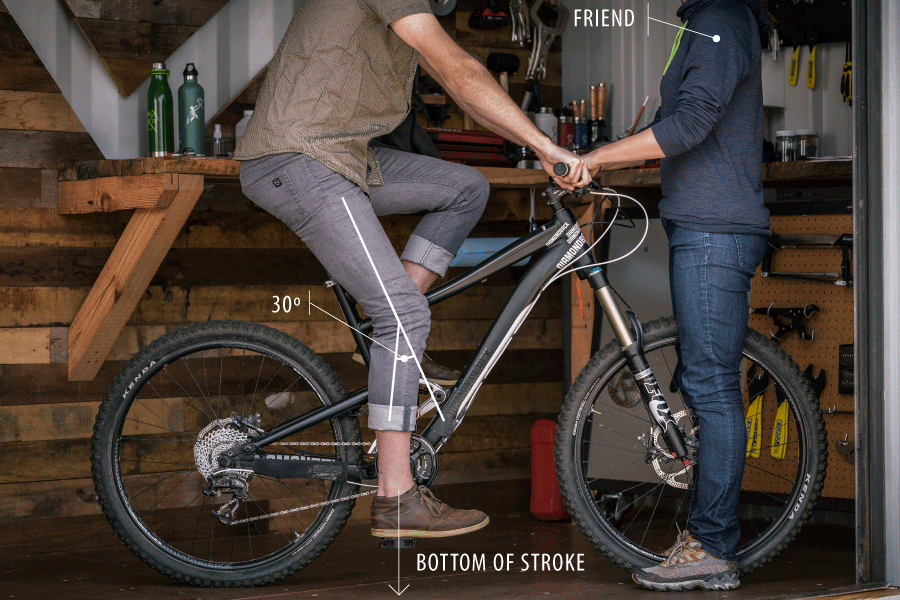
Let’s look at bike setup next. For comfortable and efficient climbing your seatpost should be set so that your leg is well extended at the bottom of your pedal stroke but not locked at the knee. A 30° angle is ideal and for most beginners, their fat bike will not come with a dropper post. With a standard seatpost and with winter trail riding in Fredericton in mind you should definitely set up your seat with climbing in mind rather than being tempted to drop it to a lower position for descending. Your tires should be properly inflated for the conditions (we covered this last week).

Cyclist on bike adjusting saddle height
Stolen with pride from the internet. Please send in photos of a protractor taped to your leg as you figure this out.

Rider position is very important for climbing hills. Your aim will be to stay centered over your bike, bringing your chest closer to the handlebar, with your elbows in slightly and well bent to absorb any impacts. You want to keep your mass in the center of the bike, preventing your front wheel from wanting to lift off the trail. If it is a long hill you will want to keep your shoulders from hunching forward so that you are able to settle into a regular pattern of breathing. Your body will be wanting oxygen for this. Above all else, remember that we don’t climb hills by standing on our pedals. This is a last resort, often used in desperation to get over a hump you didn’t see coming, and it often doesn’t result in success for beginner riders.

Next let’s think about gearing and cadence. Cadence is the rate which your feet are spinning the cranks. For hills, you want that rate to be nice and steady. Misjudging the hill (or your own strength) and choosing a gear that is too easy will have your feet spinning fast and potentially your back wheel loosing traction. Choosing a gear that is too difficult will mean you are left trying to crank hard and slow, which isn’t efficient. Worse yet, beginner riders who misjudge the hill’s difficulty often try to downshift to an easier gear while their pedals are under load. While derailleurs have been around for a long, long, long time the technology still isn’t perfect. Trying to shift down while cranking hard up a hill isn’t going to work. That’s how chains get lodged in your rear spokes, or worse yet they break. Plan ahead. The goal is to build speed leading into the climb (especially if it is short), but be sure to shift into whatever climbing gear you think will result in a steady cadence just before you start the climb. Remember, you need a pedal stroke or two to complete your shift after you push the trigger on your handlebars.

You won’t always make it up. That’s not a problem. Pushing a fatbike up a short steep section happens to the best of us and it is worth it for the downhill that will come. A few pieces of advice:

  • Give others on a group ride a bit of space. If they need to jump off the bike mid-way up a steep hill it doesn’t do anyone any good to be right on their rear tire. They’ll feel bad and you’ll feel frustrated. Space out wider on the hills.
  • If soft snow led to your failed climb and you need to push please step off the groomed trail into the deep snow. While this makes your job harder it saves the trail for the riders coming behind you. Once that steep hill climb gets bumpy with boot prints it won’t become any easier. It’s ok to leave your bike on the trail.
  • Pushing up a hill is good. It gives you something to work for and it means when you finally get it clean it will feel all the more rewarding.

The Winter Woolastook Loop is a good introduction to climbing with your fat bike. You can shorten the loop as necessary, sticking first to the doubletrack west of the campground, then seeing if you can make it up to Mountain Rd, and finally shooting for that steep climb up to the lookout (this takes real fitness). Good luck!

Trailforks.com

Filed Under: News, Uncategorized, Winter Bike

  • « Previous Page
  • 1
  • …
  • 11
  • 12
  • 13
  • 14
  • 15
  • …
  • 19
  • Next Page »

Proud Members of: Velo New Brunswick

Canadian Cycling Association

International Mountain Biking Association

Copyright © 2025 · Outreach Pro On Genesis Framework · WordPress · Log in